

I’ll never forget the first time I craved something sweet after a grueling workout. My body wanted richness, but my mind demanded balance. That’s when I stumbled upon a revelation: indulgence and nutrition don’t have to be enemies. What if I told you there’s a way to savor velvety chocolate decadence while fueling your body with premium nutrients?
This discovery changed how I approach desserts forever. Imagine a treat that melts on your tongue like silk yet powers your day with plant-based protein and heart-healthy fats. No sugar crashes. No guilt. Just pure satisfaction that aligns with fitness goals or mindful eating habits.
My kitchen experiments led to a creation so simple, it feels almost magical. With just five minutes of prep and ingredients you likely already have, you can transform humble staples into something extraordinary. The secret? A base that’s surprisingly creamy without dairy, refined sugars, or artificial additives.
Whether you’re dodging late-night cravings or hosting friends who think “healthy” means “bland,” this dish delivers. It’s become my stealth weapon for moments when only real chocolate will do—but life demands more than empty calories. Let me show you how to craft this modern-day alchemy in your own blender.
Introducing My Journey with This High-Protein Dessert
It took one failed experiment to realize decadent treats could actually fuel my body. Years ago, a friend served me a bitter, grainy version that made me question the entire concept. That experience became my motivation to crack the code on balancing richness with nourishment.

From Doubt to Devotion: A Flavor Revolution
My breakthrough came when I swapped cheap cocoa powder for dark, stone-ground varieties. Suddenly, the earthy notes of fresh produce disappeared into velvety sophistication. What sealed the deal? Discovering how naturally occurring fats could mimic traditional textures without dairy’s heaviness.
Powerhouse Trio: Beyond Basic Ingredients
The magic lies in synergy. Creamy bases deliver monounsaturated fats shown to support heart health, while raw cacao floods the system with antioxidants. Adding pure plant protein transforms each spoonful into muscle-repair fuel – perfect after cycling or yoga sessions.
This combination taught me that smart indulgences exist. Now when cravings strike, I reach for bowls that satisfy both my taste buds and nutritional needs. No compromises. Just pure, guilt-free pleasure that keeps energy levels steady.
Breaking Down the Ingredients and Their Nutritional Benefits
Crafting this dish taught me that every component serves dual purposes – flavor architects and nutritional powerhouses. Let’s explore why each element earns its place in the bowl.

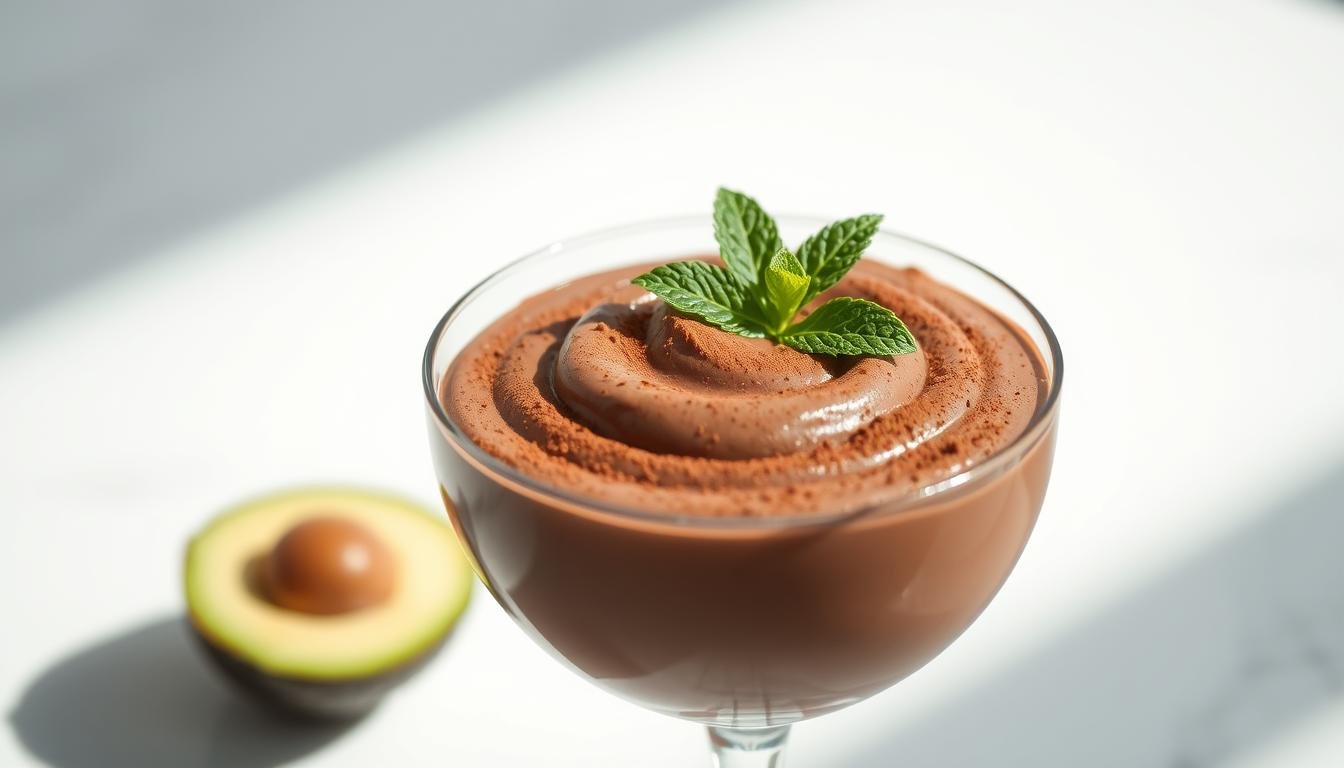
Understanding Avocado’s Healthy Fats and Fiber
That creamy base? It’s not just texture magic. The monounsaturated fats in ½ cup mashed avocado (120g) act like nutrient taxis, helping your body absorb fat-soluble vitamins. I’ve noticed these “good fats” keep me satisfied for hours, cutting mindless snacking.
Fiber plays stealth roles here. Beyond aiding digestion, it slows sugar absorption – crucial for maintaining steady energy. Research suggests this combo of fats and fiber might lower diabetes risk, making each spoonful preventive care disguised as decadence.
The Role of Protein and Cocoa Powder
My ½ cup chocolate protein powder (45g) choice wasn’t random. It converts dessert into recovery fuel, providing amino acids that repair muscles post-workout. Paired with ¼ cup cocoa powder (20g), you get a double antioxidant punch – flavonoids from cacao meet muscle-building compounds.
Quality matters. Stone-ground cocoa delivers magnesium for nerve function, while pure protein isolates avoid chalky textures. Together, they create a richness that fools taste buds into thinking you’re cheating – when you’re actually fueling greatness.
Step-by-Step Preparation Techniques
Perfecting this dish required mastering more than just measurements—it demanded a dance between technique and timing. Through countless trials, I discovered how subtle adjustments in blending methods transform ordinary mixtures into cloud-like textures.

Blending Ingredients for a Silky Smooth Texture
Start with chilled equipment. I add dry powders first—cocoa and protein varieties—to create an even base. The secret? Pulse 3 times before adding the creamy element. This prevents clumping and ensures every particle gets coated.
Introduce liquids gradually. A tablespoon of milk every 15 seconds helps achieve that velvety flow without overwhelming the mixture. If your protein powder leans sweet, wait until the final blend before adding extra sweetener.
| Common Mistake | Smart Solution | Result |
|---|---|---|
| Adding all liquid at once | Drizzle milk slowly through feed tube | Perfect consistency |
| Not scraping sides | Use rubber spatula every 30 seconds | Even texture |
| Over-processing | Limit blending to 90 seconds max | Airy lightness |
Tips on Using Your Food Processor Effectively
Your machine’s pulse function is gold. Quick bursts prevent heat buildup that can alter flavors. For stubborn chunks, add ½ teaspoon of milk and pulse again—never let the blades run continuously.
Timing matters. After 2 minutes of processing, check the mixture’s sheen. It should coat the spatula like satin. If needed, adjust sweetness with a drop of vanilla extract mixed into your chosen sweetener.
Chill immediately after blending. Those 30 resting minutes let flavors marry while the texture firms into spoonable perfection. Trust me—it’s worth the wait.
Mastering the Avocado Chocolate Mousse for a Healthy Dessert Recipe
The moment my spoon glided through that first perfect batch, I knew I’d cracked the code. Creating this velvety masterpiece isn’t just about mixing ingredients—it’s about finesse. Through endless trials, I’ve pinpointed the exact methods that transform simple components into a restaurant-worthy experience.
Temperature balance makes all the difference. Letting ingredients reach room warmth before blending prevents graininess and unlocks silky textures. I melt cacao gently—just enough to flow like liquid satin—before marrying it with the creamy base. This step erases any earthy notes, leaving pure decadence.
Timing your vanilla addition matters more than you’d think. A dash added mid-blend amplifies chocolate’s depth while softening lingering undertones. Three pulses after introducing it? That’s the sweet spot where flavors fuse into something magical.
Texture checks every 45 seconds are non-negotiable. I stop to scrape sides religiously, ensuring no stubborn bits escape the blades. The result? A cloud-like consistency that rivals traditional whipped cream versions, yet carries hidden nutritional power.
Sweetness calibration became my secret weapon. I taste-test twice: once after blending, again post-chill. A drizzle of maple syrup or pinch of sea salt can elevate the entire batch from “good” to “can’t-stop-eating” territory.
This journey taught me that precision creates perfection. What looks like a simple five-minute recipe actually holds layers of technique—each one ensuring every spoonful feels like a luxurious escape, yet fuels your body like a champion.
Exploring Variations and Dietary Adjustments
Customizing this treat became my obsession after receiving requests from friends with different eating styles. Through dozens of trials, I found ways to honor diverse needs without sacrificing that signature silkiness.
Adapting the Recipe for Vegan, Paleo, Keto, and Gluten-Free Diets
For plant-based versions, swap whey protein with pea or hemp varieties. These alternatives blend seamlessly while keeping the creamy mouthfeel intact. One reader shared: “Used pumpkin seed protein – couldn’t tell it wasn’t dairy!”
Keto enthusiasts will love sugar-free adjustments. Stevia or monk fruit sweeteners work best, maintaining richness without spiking blood sugar. I mix in a teaspoon of vanilla extract to balance earthy notes.
Maple syrup shines in paleo adaptations, but honey works if veganism isn’t required. Pair it with coconut milk instead of almond varieties for extra decadence. Always check labels on cocoa powder – some brands add sneaky sugars.
Gluten-free? You’re already covered. Just verify your protein source’s manufacturing process. This flexibility makes the base recipe a chameleon – ready to morph into whatever your lifestyle demands.
Serving Suggestions and Storage Guidelines
How you present and preserve your creation impacts both enjoyment and longevity. Through countless dinner parties and meal preps, I’ve honed methods that maintain texture while boosting visual appeal.
Creative Toppings and Presentation Ideas
Elevate simple servings with contrasting textures. Layer in glass jars with crushed nuts and raspberries for color pops. A dollop of whipped coconut cream adds airy contrast to the dense base. For gatherings, pipe into espresso cups topped with cacao nibs – guests will think you spent hours.
Best Practices for Refrigerating and Freezing Your Mousse
Store in airtight containers to preserve velvety consistency. Chilled batches keep up to 5 days, though I prefer consuming within 72 hours for peak freshness. Freeze portions in silicone molds for up to 2 months – thaw overnight or enjoy straight from the freezer as a fudgy treat.
Pro tip: Let frozen servings sit at room temperature 10 minutes before eating. This softens the texture just enough to mimic that first-day creaminess we all crave.