
As a baker, I’ve often been asked if it’s possible to achieve a flawless, cake decorating finish without relying on commercial products.
The answer lies in making your own homemade fondant. It’s not only cost-effective but also lets you customize and be flexible with your baking.

In this article, I’ll show you a simple, step-by-step guide to making a delicious and pliable fondant. It’s perfect for decorating your cakes.
By the end of this tutorial, you’ll know how to create beautiful, professional-looking cakes. These will surely impress your friends and family.
What is Fondant?
Fondant is often called edible playdough. It’s a sugar dough that can be molded and colored. Cake decorating experts say it’s like a blank canvas, ready for your creativity.

Fondant is mostly sugar. It’s great for many decorating techniques, from simple to complex designs. Its texture is perfect for both delicate details and bold statements on cakes.
Types of Fondant
There are several types of fondant, each with its own uses. The most common types include:
- Marshmallow fondant: Made with marshmallows, it’s easy to make at home and very pliable.
- Rolled fondant: This is the most used type for covering cakes and making decorations.
- Poured fondant: Used for glazing, it’s thinner and flows well.
Uses in Cake Decorating
Fondant is very versatile in cake decorating. It can be used to:
- Cover cakes for a smooth surface.
- Create detailed designs, like flowers and borders.
- Make three-dimensional decorations, such as figures and shapes.
As a cake decorator, I find fondant essential. Its adaptability and uses make it a key tool in decorating.
Key Ingredients for Homemade Fondant
To make a smooth and pliable fondant, you need a few key ingredients. The quality of these ingredients greatly affects the final result. So, it’s important to choose the best you can find.
Marshmallows
Marshmallows are the main part of homemade fondant. They have a lot of sugar and gelatin, which give the fondant its elasticity and texture. You can use either regular or mini marshmallows, but mini ones melt more evenly.
Powdered Sugar
Powdered sugar is also very important in fondant. It sweetens the fondant and helps it reach the right consistency. Make sure to use high-quality powdered sugar that is finely ground. Sifting the sugar before use can also make the fondant smoother.
Shortening
A little bit of vegetable shortening is added to prevent the fondant from drying out. It keeps the fondant soft and easy to work with over time. You can use Crisco or another vegetable shortening you prefer.
Here’s a quick summary of the key ingredients and their roles:
| Ingredient | Role |
|---|---|
| Marshmallows | Provide structure and elasticity |
| Powdered Sugar | Adds sweetness and helps achieve the right consistency |
| Shortening | Prevents drying out and maintains pliability |

Essential Tools for Making Fondant
Making fondant needs a few key tools found in most kitchens. These tools make the process smoother and more efficient.
You’ll need a few basic pieces of equipment to begin. A Kitchenaid mixer is highly recommended. It makes a big difference in mixing. Make sure your mixer can handle the classic size.
Mixing Bowls
A large, sturdy mixing bowl is key for combining ingredients. Stainless steel or glass bowls are best. They are easy to clean and can handle mixing well.
Silicone Mats
Silicone mats offer a non-stick surface for kneading fondant. They are easy to clean and can be used on countertops or for storing fondant.
“Using a silicone mat can significantly reduce the mess and effort involved in kneading fondant.” – Cake Decorating Expert
Rolling Pins
A good quality rolling pin is essential for rolling out fondant. You can choose between a standard rolling pin or a fondant-specific one, depending on your preference.

| Tool | Purpose | Recommended Type |
|---|---|---|
| Mixing Bowls | Combining ingredients | Stainless Steel or Glass |
| Silicone Mats | Kneading fondant | Non-stick Silicone |
| Rolling Pins | Rolling out fondant | Fondant-specific or Standard |
With these essential tools, you’re ready to make fondant at home. Each tool is important for an efficient process and high-quality fondant.
Step-by-Step Guide to Making Fondant
Homemade fondant is simpler than you might think. I’ll guide you through it. Making fondant from scratch needs basic ingredients and tools.
To begin, melt the marshmallows. Use a microwave-safe bowl to heat 1 lb of marshmallows in 30-second bursts. Stir until they’re fully melted. Be careful as the bowl will be hot.

Step1: Melt the Marshmallows
Put the marshmallows in a microwave-safe bowl. Heat them in 30-second bursts, stirring between each interval. Keep going until they’re smooth and melted.
Step2: Add Powdered Sugar
After melting the marshmallows, add powdered sugar. Pour it in slowly and mix until a dough forms. The amount of powdered sugar needed depends on humidity and desired consistency.
| Ingredient | Quantity | Purpose |
|---|---|---|
| Marshmallows | 1 lb | Base ingredient for fondant |
| Powdered Sugar | Variable | Adds structure and sweetness |
| Shortening | As needed | Helps with pliability and texture |
Step3: Knead the Dough
After adding powdered sugar, knead the mixture until it’s smooth and pliable. This step is key for the fondant’s texture. If it’s too sticky, add more powdered sugar. If it’s too dry, add a bit of water or shortening.
Tips for Kneading: Knead on a surface dusted with powdered sugar to prevent sticking. Keep kneading until the fondant is smooth and consistent.
Flavoring Your Fondant
To improve your cake decorating, try flavoring your fondant. It makes your cakes taste better and look amazing. We’ll show you how to flavor and color your fondant, making your cakes special and personal.
Popular Flavoring Options
There are many ways to flavor your fondant. Here are some favorites:
- Vanilla Extract: A classic choice that pairs well with most cake flavors.
- Fruit Extracts: Such as raspberry, strawberry, or lemon, which can add a fruity twist.
- Espresso or Coffee: Perfect for mocha-flavored cakes.
- Almond Extract: Adds a nutty flavor that complements many desserts.
When using extracts, start with a small amount (about 1/4 teaspoon per cup of fondant) and adjust to taste. This is because extracts can be quite potent, and you can always add more but can’t remove the flavor once it’s added.
Adding Color to Fondant
Coloring your fondant makes your cakes look great. The right type and amount of food coloring is key.
| Color Type | Recommended Coloring | Tips |
|---|---|---|
| Pastel Colors | Gel or paste coloring | Start with a small amount and mix well. |
| Dark Colors | Gel or paste coloring | Add color during the fondant-making process for best results. |
| Bright Colors | Gel or paste coloring | Be cautious not to add too much coloring, as it can affect the fondant’s consistency. |
Use gel or paste food coloring for fondant. Liquid coloring can make it too sticky. For dark colors, add the coloring while making the fondant for the best results.

By following these tips and trying different flavors and colors, you can make unique and delicious cakes. The key is to start with small amounts and adjust to taste or color intensity.
Tips for Working with Fondant
Mastering fondant can take your cake decorating to new heights. It doesn’t matter if you’re new or experienced. Knowing how to handle fondant is key for top-notch results.
First, condition your fondant before using it. If it’s fresh, you’re ready to go. If not, warm and knead it until it’s stretchy. This step is critical for working with fondant.
Storing Fondant
Storing fondant right is important for its quality. Wrap it tightly in plastic or foil and put it in a sealed container. This keeps it moist and fresh for later use. Keep it away from sunlight and moisture to avoid damage.

Preventing Fondant from Drying Out
Fondant can dry out if exposed to air too long. To stop this, apply a thin layer of shortening or oil to the fondant when not using it. This keeps it moist and flexible. Also, work in a cool, dry place to prevent drying.
By following these tips, you’ll work with fondant better. You’ll get smoother, more professional results in your cake decorating.
How to Roll Out Fondant Properly
To get a smooth cake surface, you need to master fondant rolling. It’s key for a pro finish.
Before rolling, prepare your space and fondant. Dust your surface with cornstarch or use a thin shortening layer to stop fondant sticking. Your choice depends on your workspace and preference.
Using Cornstarch or Shortening
Cornstarch and shortening both prevent fondant sticking. Cornstarch is best for most places, adding no extra fat. But in humid areas, shortening is better to keep fondant from getting wet.
| Method | Advantages | Disadvantages |
|---|---|---|
| Cornstarch | Works well in dry places, no extra fat | Not good in humid areas |
| Shortening | Best in humid places, makes fondant easier to shape | Adds fat, can be messy |
Achieving the Right Thickness
The perfect fondant thickness is about ⅛ inch. This makes it strong yet easy to shape for your cake. Use a rolling pin with guides or measure as you roll.
Experts say, “The key to good fondant is in the rolling.” This shows how important it is to be careful and patient.
“The key to a successful fondant application is in the rolling.” – Cake Decorating Expert
Here are tips for even fondant rolling:
- Turn the fondant often to avoid sticking.
- Roll gently to avoid tears.
- If it gets too thin, patch it, but roll carefully to avoid this.

Covering a Cake with Fondant
To get a smooth cake exterior, covering it with fondant is key. This makes the cake look professional and flawless.
Preparing the Cake
Before you start, make sure your cake is ready. First, cover it with a thin layer of buttercream frosting. This is called a crumb coat. It helps the fondant stick to the cake.
- Ensure the cake is completely cooled before applying the crumb coat.
- Use a turntable to make the frosting process easier and more efficient.
- Chill the cake in the refrigerator for about 10-15 minutes to set the crumb coat.
Smoothening the Fondant
After preparing your cake, roll out the fondant. Use powdered sugar or cornstarch to dust the surface. This prevents the fondant from sticking.
- Roll out the fondant to the desired thickness, typically around 1/4 inch.
- Carefully lift the fondant over the cake, starting from the top and working your way down.
- Use a fondant smoother or your hands to smooth out any air bubbles or wrinkles.

Smoothening the fondant needs patience. Use a gentle touch and work around the cake carefully.
Tips for a Smooth Finish:
- Work in a cool, dry environment to prevent the fondant from becoming too soft or sticky.
- Use a small amount of shortening or cornstarch to prevent the fondant from sticking to your tools or surface.
- If you encounter any air bubbles, use a pin to carefully pop them and then smooth the area.
Decorating Techniques with Fondant
Now that you know how to make your own fondant, it’s time to get creative. Decorating with fondant can make your cakes look professional and unique. It adds a special touch that everyone will love.
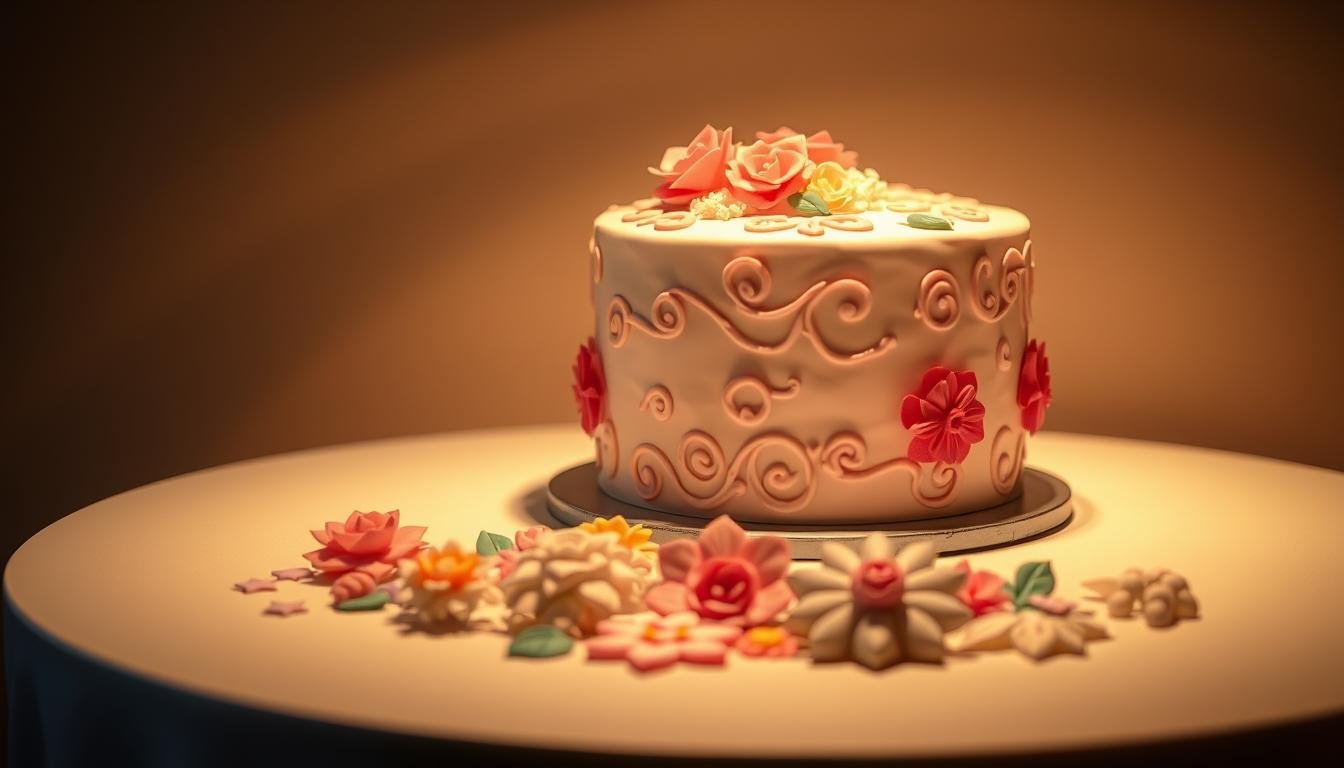
Creating flowers is a favorite technique. You can make fondant flowers in different sizes and colors. They add a delicate beauty to your cakes. To make them, you’ll need fondant, a rolling pin, and flower-shaped cutters. A fondant veiner can also help make the flowers look more real.
Creating Flowers
To make fondant flowers, start by coloring your fondant. Roll it out thinly, then cut out flower shapes. Use a ball tool or fondant veiner to shape the petals. This makes them look more natural.

Making Figures and Shapes
You can also make figures and shapes with fondant. This includes animals, leaves, or any design you can think of. To shape them, mold the fondant into the desired form. Fondant tools or household items like toothpicks and skewers can help add details.
Here’s a simple table to guide you on the basic tools needed for common fondant decorations:
| Decoration Type | Basic Tools Needed |
|---|---|
| Fondant Flowers | Flower cutters, fondant veiner, rolling pin |
| Fondant Figures | Fondant tools, toothpicks, skewers |
| Simple Shapes | Shape cutters, rolling pin |
Mastering these decorating techniques can elevate your cake decorating. You’ll create stunning designs that will wow your friends and family.
Common Mistakes to Avoid
Working with fondant can lead to common mistakes that spoil your cake decorating. I’ve seen issues like cracking, tearing, dryness, and pockmarks. I’m here to guide you on how to steer clear of these problems.
Fondant often gets overworked, which causes big problems. Overworking the fondant makes it tough and dense. This makes it hard to get a smooth finish.
Overworking the Fondant
Overworking fondant can ruin its texture and look. To prevent this, knead it just until it’s smooth. Then, let it rest. If your fondant feels stiff or has a bad texture, you’ve overworked it.
Using Too Much Powdered Sugar
Another mistake is using too much powdered sugar. This makes fondant dry and crumbly. While powdered sugar is important, too much makes it like sugar paste.
To fix this, add powdered sugar slowly and in the right amount. If your fondant is too dry, you’ve added too much sugar.
By knowing these common mistakes, you can make your fondant decorating better. The secret to great fondant decorating is avoiding these pitfalls.
FAQs about Homemade Fondant
Working with homemade fondant can raise some questions. Here, I answer some common ones to boost your confidence in cake decorating.
Preparing Fondant in Advance
You can prepare fondant ahead of time, which is great for planning. Store it in a zip-lock bag for months. When you’re ready, just reheat and knead it until it’s stretchy.
Fondant Shelf Life and Storage
Storing fondant properly helps it last longer. Keep it in an airtight container or zip-lock bag. This way, you can have fondant ready for your next project.