

I remember staring at my first uneven dessert creation, frosting sliding sideways as my family sang “Happy Birthday.” That moment sparked a decade-long journey through flour-dusted countertops and countless experiments. Today, I want to share what transformed my kitchen disasters into confident, bakery-worthy results.
Building multi-tiered masterpieces once felt like solving a puzzle with missing pieces. Through trial and error—and more than a few crumbly mishaps—I discovered the rhythm behind stunning desserts. Whether crafting cozy 6-inch treats or grand 9-inch centerpieces, the core principles remain beautifully consistent.
This guide distills years of hands-on experience into clear, actionable steps. You’ll learn why chilling components matters as much as mixing them, how to achieve razor-straight edges, and when to trust your instincts over strict measurements. The process works equally well for classic vanilla creations or bold chocolate masterpieces.
Grab your offset spatula—we’re about to turn basic baking skills into edible artistry. By the end, you’ll wield simple tools with newfound precision, transforming humble ingredients into celebrations waiting to happen.
Mastering the Basics of Cake Assembly
Perfecting your dessert starts long before frosting touches the surface. My early attempts taught me that preparation shapes outcomes more than any fancy technique. Let’s explore the unsung heroes of cake construction.

Flat Surfaces Make Stable Foundations
Cooled layers behave better during assembly. I wait 2 hours minimum – rushing leads to crumbly disasters. For trimming, try these methods:
| Tool | Best For | Cost | Skill Level |
|---|---|---|---|
| Serrated Knife | Soft sponges | $15-$30 | Beginner |
| Cake Leveler | Dense recipes | $8-$25 | Intermediate |
Rotate the layer slowly while cutting. Save those golden-brown tops for trifles – no waste!
Pan Prep Prevents Problems
Parchment paper became my kitchen ally after three stuck cakes. Now I:
- Trace pan shapes on parchment
- Use cooking spray on pans first
- Press cutouts into greased surfaces
This method works for 6-inch or 12-inch pans alike. The satisfying thwop of perfect release never gets old.
Invest in quality bakeware – warped pans sabotage even the best recipes. Thin aluminum conducts heat unevenly, while heavy-gauge steel gives consistent results.
Step-by-Step: How to Assemble a Layer Cake

Professional results emerge from calculated stacking sequences and controlled ingredient distribution. My method balances precision with adaptability—the sweet spot between strict rules and creative freedom.
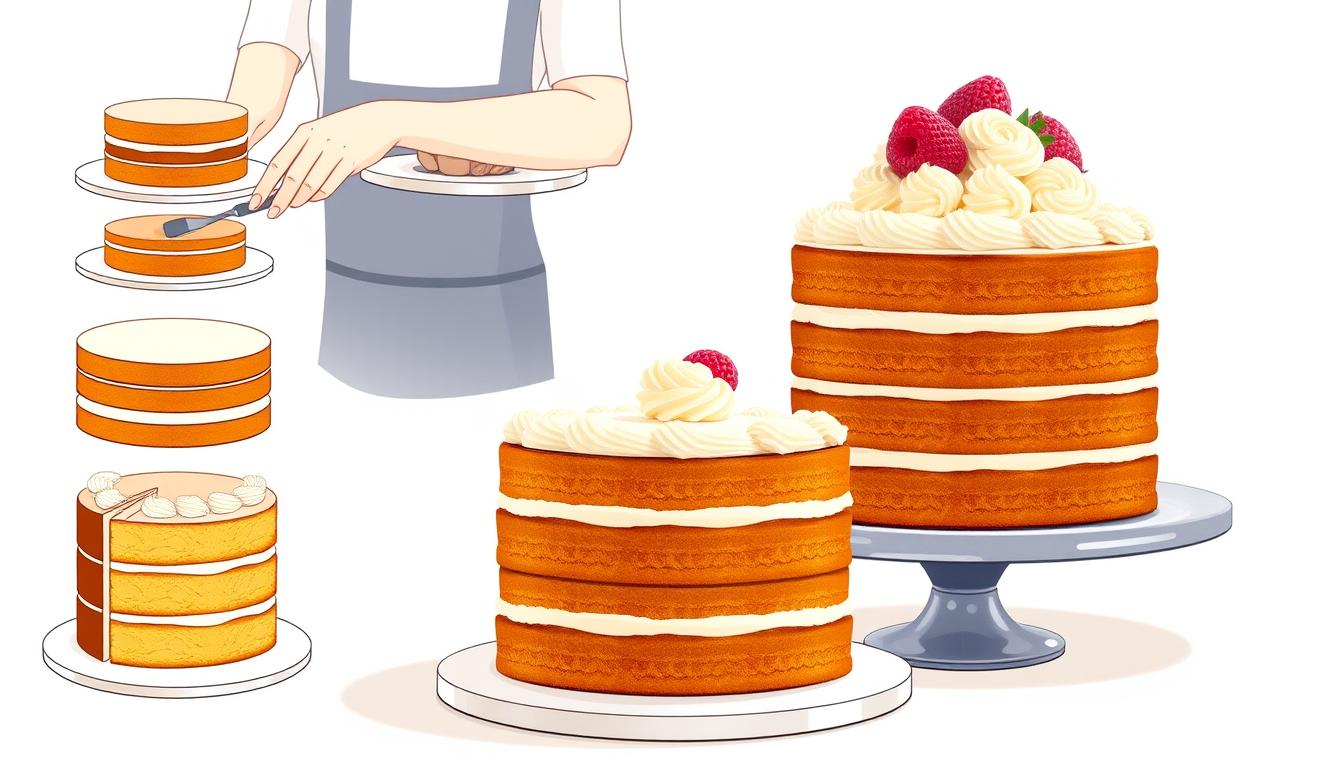
Stacking Layers for Stability
Begin with chilled components straight from the refrigerator. Cold layers resist shifting better than room-temperature ones. Place your base tier right-side up on a turntable, ensuring it’s centered. I measure exactly 240g of frosting between tiers—enough for structure without overflow risks.
Flip middle tiers upside down before positioning. The flat bottom surface creates better weight distribution. Rotate the turntable slowly while checking alignment from all angles. This step prevents lopsided results that require corrective measures later.
Applying Even Layers of Frosting
Use an offset spatula to push frosting outward, not downward. Maintain consistent pressure—the blade should glide without digging into the cake. Stop when you see a 1/4-inch border of exposed sponge around the edges.
My two-day process yields better adhesion: assemble chilled tiers with minimal filling first, then refrigerate overnight before final coating. This approach reduces crumbs in the finish and allows flavors to meld beautifully.
Cake Decorating for Beginners: Tools and Techniques
My early attempts at frosting looked like abstract art—swirls collapsing, edges crumbling. Then I discovered the dynamic duo that changed everything: a turntable and angled spatula. These tools create the foundation for clean lines and polished finishes, even with shaky hands.

Mastering Rotation and Spread
A quality turntable lets you spin desserts like a pottery wheel. I keep mine at elbow height—this positioning reduces arm fatigue. Hold the offset spatula like a pencil, resting the blade against the side. Rotate slowly while maintaining light pressure.
Here’s what works best:
- Chill frosted tiers for 20 minutes before final smoothing
- Use the spatula’s bend to follow contours naturally
- Clean tools between layers to prevent crumb buildup
Piping Essentials Made Simple
Start with a reusable 16-inch piping bag and three tips: round (Wilton 1M), star, and leaf. Squeeze from the top third of the bag, not the middle. For borders, keep the tip perpendicular to the surface—twist instead of pull for consistent pressure.
Beginners often achieve stunning results with:
- Rosette clusters using the 1M tip
- Textured sides created by dragging a comb
- Drizzled ganache accents from a ziplock corner
Remember: Decorating improves with muscle memory, not magic. Your tenth cake will look exponentially better than your first—mine certainly did!
Layer Cake Structure: Building Stability with Crumb Coats
The secret to flawless desserts lies in what’s hidden beneath the surface—a barely-there foundation that transforms messy layers into polished creations. This unsung hero works behind the scenes to elevate your dessert from homemade to haute patisserie.

What a Crumb Coat Does and Why It’s Important
Think of this technique as architectural reinforcement for desserts. A crumb coat seals wandering particles while creating a grippy surface for final decorations. I use precisely 240g of frosting for three-tiered projects—enough to bind without overwhelming delicate textures.
| Application Method | Frosting Amount | Chill Time | Result |
|---|---|---|---|
| Top-down spread | 1/4 cup per layer | 20 minutes | Crumb containment |
| Side smoothing | 1/3 cup total | 45 minutes | Structural base |
| Full coverage | 1 cup total | 60 minutes | Decorative canvas |
Refrigeration transforms the crumb-coated surface into a stable platform. Cold frosting firms up, locking layers in place like edible cement. This step prevents sliding during final decoration—a game-changer for intricate designs.
My early attempts skipped this crucial phase, resulting in speckled finishes and leaning towers. Now I treat the crumb layer as non-negotiable prep work. The 20-minute chill investment pays dividends in smooth sides and professional presentation.
Frosting Techniques for a Smooth Finish
Mirror-like surfaces emerge when tools become extensions of your hands. My first attempts left ridges resembling topographic maps until I discovered the physics of frosting behavior. The right combination of temperature, pressure, and motion creates flawless results every time.
Foundation Layer Application
Begin with chilled tiers and room-temperature frosting. Spread a 1/8-inch base coat using an offset spatula—this initial layer traps crumbs while creating adhesion points. Key pressure zones:
| Area | Pressure Level | Tool Angle |
|---|---|---|
| Top Center | Medium | 30° |
| Edges | Light | 15° |
| Sides | Firm | 90° |
Refrigerate for 25 minutes before final coating. Cold surfaces prevent the bench scraper from dragging particles into your finish.
Precision Side Smoothing
Position your bench scraper vertically against chilled frosting. Rotate the turntable steadily with your non-dominant hand—one full revolution every 8 seconds. Maintain even pressure, letting excess collect at the blade’s edge.
“The magic happens on the third pass—first removes bulk, second shapes contours, third delivers that glass-like surface.”
For smooth finish alternatives: Warm a straight-edged knife under hot water. Dry thoroughly before making controlled upward strokes. Multiple thin applications beat single thick layers for avoiding air pockets.
Advanced Cake Leveling and Layer Stacking Tips
Precision cutting separates homemade charm from bakery perfection. While most recipes focus on mixing and baking, layer alignment determines structural integrity and visual appeal. Let’s explore professional techniques that elevate basic components into architectural marvels.
Cutting Tools Face-Off
Serrated blades and levelers each excel in specific scenarios. My commercial kitchen experience revealed this pattern:
| Tool | Best Use Cases | Learning Curve | Cost |
|---|---|---|---|
| Serrated Knife | Soft sponges, angled cuts | Low | $12-$40 |
| Cake Leveler | Dense recipes, uniform height | Moderate | $15-$60 |
For domed surfaces, position your serrated knife parallel to the counter. Use gentle sawing motions while rotating the layer. Uneven bottoms? Flip the tier upside down – flat sides naturally stabilize stacks.
Sunken centers become hidden treasure troves. Fill cavities with raspberry coulis or chocolate ganache before stacking. Scraps transform into decorative crumbles or trifle components – zero waste with maximum flavor impact.
When splitting layers, score the perimeter first. This guide prevents uneven cuts. Freeze tiers for 30 minutes beforehand – firm textures allow cleaner divisions. I create four thin layers from standard-height cakes using this method.
“A sharp blade matters more than the tool type. Dull edges tear delicate crumbs regardless of technique.”
Recovering from over-trimming? Brush simple syrup on exposed surfaces. The moisture helps layers adhere while adding subtle flavor complexity. Remember: Imperfect cuts disappear under frosting and fondant.
Timing and Temperature: Baking and Cooling Considerations
Mastering oven dynamics transformed my baking disasters into flat, professional layers. Lowering the temperature by 25°F creates gradual heat penetration—crucial for even rises. When recipes call for 350°F, I bake at 325°F instead, adding half the original time. A 30-minute recipe becomes 45 minutes, yielding golden tops without domes.
Rushing the cooling process guarantees cracks. I wait 2 hours minimum before leveling layers. Warm sponges crumble under pressure, while chilled ones hold sharp edges. For faster results, freeze cake tiers for 20 minutes—cold surfaces trap fewer crumbs during assembly.
Freezing unlocks long-term success. Wrap cooled layers tightly in plastic, then foil. They’ll keep for a month. Thaw overnight at room temperature—never microwave. The slow return to softness preserves texture better than quick fixes.
Every step connects: controlled baking, patient cooling, strategic freezing. These silent partners work behind the scenes, ensuring your creation stands tall from first slice to last bite.