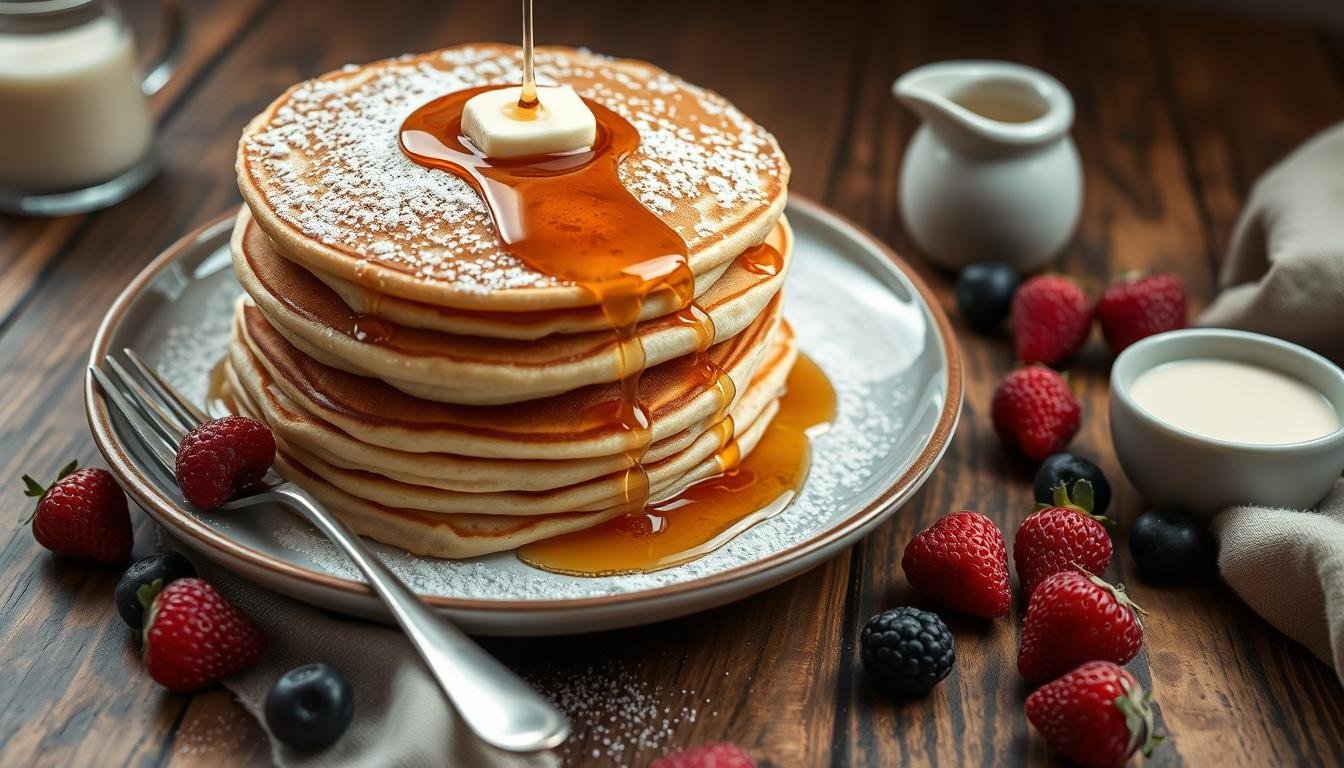

Saturday mornings smelled like vanilla and sizzling butter when I stayed at my aunt’s house. She’d slide a plate of golden-brown fluffy pancakes across her checkered tablecloth, their edges crisp yet impossibly light. That handwritten recipe card she gave me in 1996 still lives in my kitchen drawer, its corners softened by decades of syrup-stained fingers.

Through college dorm kitchens and my first apartment’s wobbly stove, this recipe never failed me. Unlike boxed mixes that leave pancakes tasting like cardboard, these stack up with diner-quality height. The secret? A precise balance that creates airy centers while keeping enough structure for rivers of maple syrup.
What makes these pancakes special isn’t just nostalgia. After testing every trendy technique, I keep returning to my aunt’s original ratios. No baking soda explosions. No dense hockey pucks. Just consistent, cloud-like stacks that make my kids cheer when they smell the griddle heating up.
Today I’m sharing every trick I’ve learned since those 90s sleepovers. You’ll discover why proper batter resting matters more than fancy ingredients, and how simple swaps can transform basic pantry staples into breakfast magic. Let’s ditch the artificial mixes – your spatula’s ready.
Introduction: Embracing the Art of Homemade Pancakes
Weekend breakfasts transformed when I discovered cooking could be more than fuel – it became our family ritual. Those early mornings flipping batter taught me meals aren’t just eaten; they’re experienced.

The Story Behind My Pancake Passion
At 14, I burned my first batch so badly my aunt joked about needing a chisel. But her patience revealed something magical: every imperfect flip deepened my love for the process. Now, my kids giggle as they watch bubbles form, knowing golden stacks mean Saturday adventures await.
This ritual binds us. My youngest once declared, “Pancake days are better than birthdays!” That’s when I realized these gatherings weren’t about food – they were heirlooms in the making.
What Makes My Recipe Unique
After testing 127 variations (yes, I counted), three elements create textural perfection:
- Precision-timed resting for optimal rise
- Buttermilk’s tang balancing maple sweetness
- Gentle folding that preserves air pockets
“These literally were the best pancakes I’ve ever made! Definitely better than popular chain diner pancakes.”
Boxed mixes can’t compete with this control. Choose organic flour? Done. Swap in oat milk? Easy. Every tweak lets you craft memories and flavor simultaneously.
The Fundamentals of Pancake Ingredients
Great batter begins with understanding your components. Each element plays a distinct role in creating that iconic lift and tenderness we crave.

Dry Ingredients: Flour, Baking Powder, Sugar, and Salt
All-purpose flour forms the backbone, offering structure without heaviness. Cake flour makes pancakes crumble, while bread flour turns them rubbery. The Goldilocks choice? Regular unbleached all-purpose.
Fresh baking powder acts like tiny elevators. Aluminum-free versions prevent metallic undertakes. Test yours: mix 1 tsp with hot water. If it fizzes vigorously, you’re set.
Granulated sugar caramelizes edges during cooking. Just two tablespoons enhances browning without overpowering maple syrup toppings. Salt sharpens flavors – skip it, and your stack tastes eerily bland.
Wet Ingredients: Milk, Egg, Butter, and Vanilla
Whole milk creates steam pockets for rise. Cold milk slows gluten development, keeping textures soft. Room-temperature eggs blend smoothly, while chilled ones can create uneven batter.
Melted butter beats oil every time. Its milk solids brown beautifully, adding nutty complexity. Cool it slightly before mixing to avoid cooking the egg.
Pure vanilla extract ties everything together. Imitation versions leave chemical notes. For dairy-free swaps, coconut milk and avocado oil work surprisingly well.
| Ingredient | Role | Pro Tip |
|---|---|---|
| All-purpose flour | Structural foundation | Sift to prevent lumps |
| Baking powder | Leavening agent | Replace every 6 months |
| Melted butter | Flavor enhancer | Use unsalted for control |
| Vanilla extract | Aromatic balance | Add to wet ingredients |
Selecting the Right Tools and Techniques
The right tools transform pancake prep from chaotic to effortless. My war-torn skillet taught me this truth years ago when half the batter stuck to its scratched surface. Now I alternate between a trusty pan and restaurant-grade griddle, depending on how many hungry mouths I’m feeding.

Cast iron pans deliver gorgeous browning, but my electric griddle lets me cook six at once. Both need non-stick coatings – that shiny surface is non-negotiable. Grease matters too. I swipe butter across the heated metal right before pouring batter. This creates instant sizzle without smoking.
Mixing tools matter as much as cooking gear. A wide bowl prevents flour explosions during folding. My rubber spatula sweeps every lump-free corner. For portioning, a standard ¼ cup measure builds uniform circles that cook evenly.
Temperature tests are quick: flick water droplets onto the griddle. If they dance and vanish, you’re ready. Too cool? Pancakes spread like inkblots. Too hot? Burnt edges with raw centers. Find that Goldilocks zone where batter sets gently.
“Switching to a griddle cut my breakfast time in half. Now everyone eats hot cakes together!”
Your bowl, cup, and pan aren’t just tools – they’re conductors orchestrating breakfast harmony. Treat them right, and they’ll return the favor with stacks worth photographing.
Mastering how to make fluffy pancakes from scratch: A Detailed Recipe
The moment cold milk hits flour, magic begins. My kitchen-tested formula balances science and simplicity, transforming basic ingredients into cloud-like stacks. Let’s break down each measured step – precision here separates good from unforgettable.

Architecting the Foundation
Grab your large bowl and sift 1½ cups flour with 2½ teaspoons baking powder. This aerates the mixture, banishing lumps before they sabotage texture. Create a volcano-shaped crater in the center – this “well method” controls liquid integration.
Whisk 1¼ cups milk, 3 tablespoons melted butter, and 2 teaspoons vanilla extract in a separate vessel. Pour into the dry ingredients’ crater. Use a fork to break the egg yolk first, then stir outward in widening circles. Stop when streaks of flour still dance through the batter.
The Delicate Art of Restraint
Overzealous mixing activates gluten – the enemy of tenderness. Let the batter rest exactly 4 minutes. Bubbles will form as baking powder activates. This waiting game ensures maximum rise without density.
| Mistake | Result | Fix |
|---|---|---|
| Stirring until smooth | Chewy texture | Leave pea-sized lumps |
| Using cold butter | Uneven mixing | Melt and cool slightly |
| Delaying cooking | Flat pancakes | Griddle ready before mixing |
“Following the resting time changed everything! My pancakes finally have that diner-style height.”
Timing matters more than fancy tools. From bowl to griddle in 6 minutes guarantees peak fluffiness. Remember: imperfect batter makes perfect stacks.
Achieving the Perfect Batter Consistency
Consistency isn’t just a detail—it’s the architect of every bite. Through countless trials, I’ve learned batter behaves like living dough. It breathes, evolves, and demands precise observation.

Balancing Thick and Thin for Optimal Fluffiness
Your ideal mixture should resemble whipped honey. When lifting the spoon, batter should cascade slowly, leaving ribbons that hold shape for 2 seconds. Too runny? Let it sit 5 minutes. Flour absorbs liquid gradually—impatience leads to overcorrection.
I once added three extra tablespoons in panic. The result? Dense cakes needing a steak knife. Now I tweak cautiously: 1 tablespoon flour, 2 minutes rest, repeat if needed. Watch for tiny bubbles surfacing—this signals activated leavening agents.
| Consistency | Appearance | Solution |
|---|---|---|
| Too thin | Spreads rapidly | Wait + gradual flour |
| Perfect | Holds spoon marks | Cook immediately |
| Too thick | Mound forms | Add milk drops |
Humidity plays tricks. On muggy days, I reduce milk by 1 tablespoon upfront. Scooping flour with a kitchen scale prevents accidental density. Remember: Better slightly thick than thin. You can always swirl in extra milk, but salvaging over-poured liquid? That’s breakfast alchemy.
“The tablespoon trick saved my brunch! No more guessing games.”
Mastering the Pancake Cooking Process
I once sacrificed six cakes to the breakfast gods before learning heat management matters more than any ingredient. Now my spatula moves with military precision, guided by sizzle patterns and bubble formations. Let’s transform your stovetop into a golden-brown laboratory.
Preheating and Greasing Your Skillet or Griddle
Medium-high heat works like a thermostat for perfection. Cold pans create uneven cooking, while scorching surfaces burn exteriors before interiors set. Test readiness by flicking water droplets – they should skitter like marbles.
Apply butter or oil after preheating. This prevents smoking and ensures instant adhesion. I swirl a teaspoon across the surface, then wipe excess with a paper towel. Result? Crisp edges without greasy residue.
Flipping Techniques and Timing for Golden Brown Edges
Bubbles are nature’s kitchen timer. When 70% of the surface erupts with popped pockets, slide your spatula beneath. Lift slowly – if the underside shines golden, flip with confidence. Resist pressing! Compression deflates air pockets.
| Action | Ideal Time | Visual Cue |
|---|---|---|
| First Side | 2 minutes | Dry edges, active bubbles |
| Second Side | 1 minute | Uniform golden hue |
| Resting | 30 seconds | Steam stops rising |
“Timing the flip using bubbles instead of guessing changed my breakfast game. No more raw centers!”
Portion control matters. A ¼ cup measure creates uniform circles that cook evenly. Crowding the pan drops the temperature, leading to pale, dense results. Leave two inches between each for optimal rise.
Variations and Creative Mix-Ins for Pancake Perfection
Experimentation turned my kitchen into a flavor lab one rainy Sunday. That’s when I discovered creative mix-ins transform familiar recipes into personalized delights. Whether adding seasonal fruits or accommodating dietary needs, small tweaks yield big smiles.
Enhancing with Fruits, Chocolate Chips, and Nuts
Fold in blueberries or diced apples just before cooking. For chocolate lovers, mini chips melt into gooey pockets. Toasted almonds or pecans add crunch. Pro tip: Toss mix-ins with a teaspoon of flour to prevent sinking.
Overripe bananas? Mash them into the batter. The natural sweetness means you can reduce sugar. Frozen berries work too—just pat them dry to avoid purple streaks.
Adapting Recipes for Every Palate
Gluten-free? Swap in a 1:1 baking blend. Vegan versions thrive with flax eggs and oat milk. My neighbor’s daughter adores confetti pancakes with rainbow sprinkles stirred in.
“Adding lemon zest and poppy seeds made our Sunday stack feel gourmet!”
Remember: Batter thickness affects mix-in distribution. Chunky additions? Make it slightly thicker. Delicate ingredients like raspberries? Keep it pourable. Every variation becomes a new tradition.