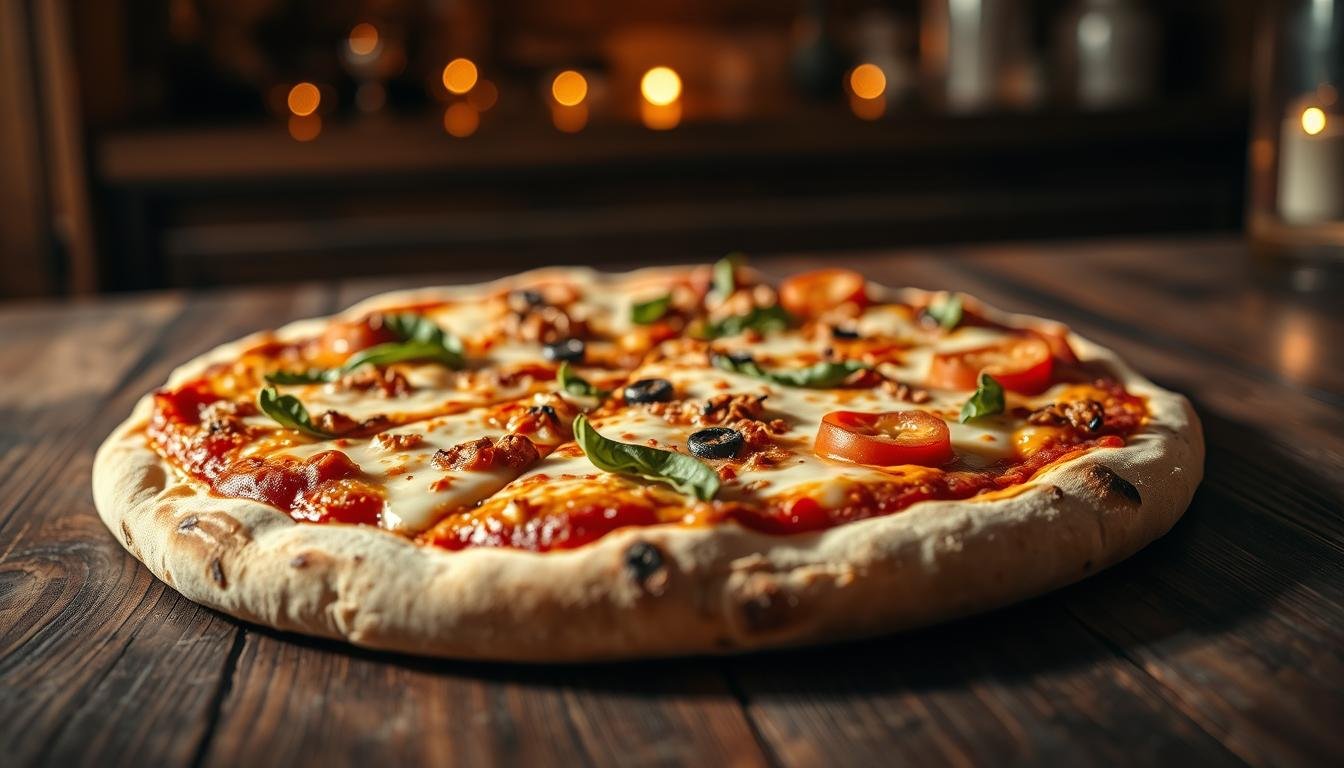

There’s nothing like the moment a perfectly baked pizza comes out of the oven. It has a crisp crust, molten cheese, and toppings that glisten with heat. But capturing that magic in a photo is a real challenge.
As someone who’s studied food photography for years, I’ve learned that great pizza photos are more than just quick snaps. They require understanding how to make cheese look gooey, how shadows add depth, and how warm tones make every slice look irresistible.
Now, over 80% of us share meal photos instantly. Yet, many of those shots don’t impress. Why? Because even a quick snap can’t match the artistry behind professional pizza photography.
David Fischer, a pro with three decades of experience, knows how props and light angles can turn a plate into a story. His studio even has a custom pizza oven, showing how seriously this craft is taken.
This article isn’t just about settings and gear—it’s about making your photos crave-worthy. By the end, you’ll know how to use shadows, warm tones, and contrasting colors to make your photos more appetizing. Ready to turn your phone snaps into delicious pizza photos that earn shares and sales?
The Art of Pizza Photography
Mastering pizza photography is all about mixing creativity with technique. Whether it’s a creative pizza image or a full pizza photo shoot, how you compose and light it matters a lot. Even small tweaks can make a big difference.

Understanding Composition
Composition is key to how elements work together in your shot. The rule of thirds helps focus on important parts like cheese or toppings. Angles also play a role: a 45-degree view shows off the crust, while top-down shots highlight toppings.
Using negative space around the pizza can make it stand out. For example, placing a slice next to herbs or on a wooden board adds context. Always style ingredients separately before arranging them. This way, each element gets its moment to shine.
Lighting Techniques for Pizza Shots
- Natural light: Place your pizza near a window on a cloudy day. This soft, even light brings out colors and avoids harsh shadows.
- Artificial setups: Use a single light source one meter above the pizza to prevent shadows. Flash can mess up texture.
- Backgrounds: Choose dark or neutral tones to make the pizza’s colors pop. A marble or wood surface adds depth without being distracting.
David Fischer, a seasoned food photographer, says the right light makes food look better. His work with Round Table Pizza saw sales go up by focusing on crisp, natural tones. Remember, bad lighting can ruin even the best pizza photography setup.
“The right light turns a meal into a masterpiece.” — David Fischer
Try different angles and lighting setups to tell a story with each shot. Whether for social media or menus, these tips make every slice look appealing.
Essential Gear for Pizza Photography
Getting the right equipment makes a big difference in pizza photography without costing too much. I’ve done over ten pizza shoots and found that even smartphones can take great photos. Bon Appétit used iPhones for their latest issue, proving it’s possible.
But, if you want better quality, consider full-frame cameras like the Canon EOS R5 or Sony a7 III. They give sharper details and work well in low light.

Here’s a breakdown of top picks for different budgets:
| Category | Model | Key Features |
|---|---|---|
| Smartphone | iPhone 14 Pro | Lightning True Tone flash for pizza photo shoot setups |
| Entry-Level | Sony a6400 | 24.2MP sensor, affordable 85mm lens options |
| Professional | Nikon Z7 II | 45.7MP resolution for professional pizza photography clarity |
For lenses, focus on 85mm-135mm focal lengths. A 90mm macro lens, like the Canon EF 100mm f/2.8L, is great for close-ups. It keeps toppings sharp and backgrounds soft. A 50mm prime lens is good for full pies.
Stay away from kit lenses. Instead, choose f/1.8-2.8 apertures for better depth control. Even smartphone macro attachments can make cheese pulls look amazing. The right gear and lighting, like octoboxes, can cut down on editing time.
Prepping Your Pizza for the Camera
Before the camera snaps a photo, getting ready is key. I focus on ingredients and styling for sharp pizza images. These tips help every slice look as appetizing as it tastes.

Choosing the Right Ingredients
Start with mozzarella cheese for its golden melt and stretch. I pre-bake the crust to 70% to control texture and color. Here’s how to get it right:
- Use low-moisture mozzarella for clean cheese pulls
- Arrange toppings in a radial pattern for visual balance
- Reduce sauce by 25% to avoid soggy visuals
- Brush crust edges with olive oil for golden highlights
| Ingredient | Purpose |
|---|---|
| Mozzarella | Creates melt and stretch for cheese pulls |
| Pepperoni | Adds bold red contrast |
| Fresh Basil | Brings vibrant green accents |
Styling Tips to Enhance Visual Appeal
Styling makes pizzas look irresistible. I place toppings at a 45° angle for the best light. Here’s my styling process:
- Apply a light water mist every 3 minutes to prevent drying
- Use tongs to create cheese pulls—aim for 1/4″ to 1/2″ strands
- Position herbs last to preserve freshness under lights
Focus on making the pizza look real, even if it means it’s not as tasty. That shiny crust and perfect cheese melt are key to stunning pizza photos.
Natural Lighting vs. Artificial Lighting
Choosing between natural or artificial light is key to great pizza photography. Each method has strengths and trade-offs. Let’s explore how they shape your shots.
Pros and Cons of Each Method
Natural light adds warmth to pizza pictures but relies on timing. Artificial setups give control but demand tools. Here’s what I’ve learned:
- Natural Light:
- Pros: Authentic glow, vibrant colors, free to use.
- Cons: Clouds cover, limited hours, no control over weather.
- Artificial Light:
- Pros: Perfect for nighttime shoots, consistent tones, adjustable angles.
- Cons: Gear costs, setup time, learning curves.
Pro food photographers often mix both. A simple white reflector or sheer curtain can soften harsh rays—no fancy gear needed.

Best Times of Day for Natural Light Shots
Golden hour magic happens one to two hours after sunrise or before sunset. These times give soft light perfect for pizza photography. Position your setup near a south-facing window for afternoon golden tones.
- Use sheer curtains to diffuse harsh midday sun.
- Face subjects toward windows for even lighting.
- Add a white card to lift shadows during cloudy days.
When the sun’s too bright, a DIY diffuser (like parchment paper) softens highlights. Practice during these peak times to capture mouthwatering pizza pictures without overexposure.
Creating a Cozy Ambiance
When making creative pizza images, the setting tells a story. A study found
70% of diners prioritize ambiance when choosing where to eat
—your photos should feel warm and inviting. Every detail, from texture to color, should draw viewers into a welcoming space.

Props and Backgrounds that Enhance Pizza Photos
Choose backgrounds that match the pizza’s origin. A rustic wooden table with a slate tile backdrop adds a natural feel. Pizza photography tips suggest adding props like olive oil bottles or cracked pepper grinders to show the cooking process.
For Italian-inspired shots, use marble surfaces and terracotta bowls to connect with tradition. Keep it simple: let the pizza be the main focus. Props like linen napkins or ceramic chargers should enhance the scene without overpowering it.
- Wooden surfaces: Enhance texture and warmth
- Earthenware dishes: Add cultural context
- Natural elements: Fresh herbs or potted plants add life
Incorporating Seasonal Themes
Seasonal elements make pizza photography ideas more appealing. Autumn brings cinnamon sticks and gourds, while winter invites candles and woolen cloths. Summer is all about citrus slices and terracotta pots.
A 2023 study showed restaurants with seasonal decor see a 25% increase in customer satisfaction. Match a Neapolitan pie with sun-dried tomatoes in summer or a cheesy focaccia with pine branches in winter.
Lighting is key: 40% of diners link it to food quality. Use dimmable lamps or fairy lights to create a cozy feel. When styling, ask: does this setup make someone want to sit at this table?
Techniques for Dynamic Pizza Shots
Make pizza pictures come alive with motion. Shots like cheese pulls or bubbling sauce make delicious pizza photos pop. These pizza photography ideas turn simple photos into hits.
“A great food photo isn’t just a picture—it’s a craving.”
Capturing Action: Cheese Pulls and Slices
Get the cheese pull just right. Slice a pizza, wait 10 seconds, then snap at 1/250th shutter speed. Use a tripod for a sharp shot. Mozzarella stretches best at 95°F (35°C). 
Using Burst Mode for Energy
- Enable burst mode to capture 10+ shots/second, ensuring you get the perfect split-second moment.
- For smartphones, use the “burst” mode in apps like Lightroom Mobile.
- Pair with natural light—golden hour glow adds warmth to moving sauce drips or crust cracks.
Use a 45° angle to show depth. Try slow shutter speeds (1/125th) for motion blur. Work fast to freeze cheese peaks. These tips make your photos irresistible.
Post-Processing Pizza Photos
Post-processing turns raw pizza photos into stunning works of art. Even the best shots need a little tweak to look great online or in print. Every edit in software helps make your pizza’s colors stand out while keeping it natural.

Key Editing Techniques for Food Photography
Begin with basic tweaks: brightness and contrast to show off cheese, sauce, and crust. Then, adjust colors to match the pizza’s true look—like making tomato shades deeper or mozzarella brighter. A bit of sharpening can make toppings pop, but be gentle with soft parts like dough.
Make sure to check the final touches. Details like cheese pulls should be sharp but not overdone.
- Brightness/Contrast: Elevate depth without washing out highlights
- Color Correction: Fix imbalances caused by artificial lighting
- Sharpening: Target edges of toppings like basil leaves or pepperoni slices
Recommended Software for Enhancing Images
Adobe Lightroom makes editing easy with food photography presets. For detailed work, Photoshop is great for removing crumbs or refining edges. Mobile users can use GIMP or Snapseed for quick edits.
David Fischer, who’s worked with Round Table Pizza, loves Lightroom’s color tools. They help keep the pizza looking appetizing without losing its natural charm.
Remember, the goal is to enhance, not change. A good photo should make you want to take a bite without wondering if it’s been edited. Aim to sharpen the visual appeal while keeping the pizza’s natural beauty intact.
Showcasing Different Pizza Styles
Mastering pizza photography means knowing how to capture each pizza’s unique look. Neapolitan pizzas have airy bubbles and charred edges. New York slices are foldable. Let’s see how to show off their special features through creative pizza images.
Neapolitan vs. New York: Visual Differences
Neapolitan pizzas have a leopard-spotted crust and fresh basil. They need close-ups to show their rustic charm. Shoot at a 45-degree angle to highlight their soft edges.
New York slices look great from above, showing their crisp foldability. Action shots of cheese pulling add to the street food vibe. The Associazione Verace Pizza Napoletana makes sure Neapolitan pizzas are simple, with just tomato, mozzarella, and basil. This simplicity calls for clean backgrounds.

Highlighting Unique Toppings and Styles
Trying out pizza photography ideas is key for special pizzas like Detroit’s crispy crust or California’s truffle pies. For Chicago’s deep-dish, use a low angle to show off the layers. Dessert pizzas with chocolate and fruit look best in soft, golden light.
Here are some pizza photography tips for standout styles:
- Thin-crust Detroit: Shoot at a 3/4 angle to highlight cheese pull and caramelized edges.
- California fusion: Use diagonal slices to reveal colorful toppings like avocado or shrimp.
- St. Louis’ cracker-thin crust: Crumble a slice to emphasize crispness.
Remember, the pizza’s culture is important. Show the Detroit square pan or Chicago’s steel pans in your photos to tell their stories.
Finding Inspiration in Pizza Photography
Looking for new food photography ideas? Check out these resources for better pizza photography tips and creative pizza photography ideas. Real examples and expert advice can change how you take stunning pizza photos.

Popular Instagram Accounts to Follow
- @foodwithlove: They show off color contrasts and texture layers in their Neapolitan pizza shots.
- @chefsteps: They teach you about dynamic angles and steam effects in their wood-fired pizza close-ups.
- @sallys_baking_addiction: Learn how to use natural light for homemade-style crust close-ups.
Books and Blogs Dedicated to Food Photography
Start learning food photography basics with:
- “The Food Photography Handbook” by Nava Atlas – Chapter 7 talks about choosing props for pizza.
- “Food Styling: The Art of Preparing Food for the Camera” by Dawn Perry – It’s key for sauce drizzle techniques.
- Blogs like The Spruce Eats have guides on capturing cheese stretch shots.
Follow these resources to see how pros mix ingredients like Caputo 00 flour or Kung Pao chicken. Create a mood board with your favorite posts and recipe images. This will help you find your own visual style.
Building Your Own Pizza Photography Portfolio
Starting a career in pizza photography means showing off your best work. A strong portfolio shows your skills and creativity. Use Format to create a website in hours. Make sure your images are high-quality and your style is consistent.
Tips for Displaying Your Work Online
Organize your photos by style, like “Detroit-Style” or “Grandma Crust.” Show your setup, like the Canon R5 camera, to reveal your process. Here’s how to do it:
- Use Behance for detailed project descriptions
- Post 8-10 edited images per project
- Add client testimonials if available
| Platform | Strengths | Best For |
|---|---|---|
| Format | Quick website builds, mobile-friendly | Personal portfolios |
| Behance | Professional project showcases | Editorial clients |
| High engagement, storytelling | Brand collaborations |
Networking with Other Food Photographers
Join groups like Food Photographers Collective to meet others in the field. Attend workshops, like the New York Food Photography Summit, to learn from experts. Show you can work well with others, as clients value teamwork.
Reach out to local pizzerias, like Pizza Jawn, for shoots. Talk about your experience with different lighting and solving problems, like capturing cheese pulls. Agencies like motion skills, like short videos or cinemagraphs of cheese.
Remember to update your portfolio every three months. See which styles get the most attention. Stay flexible to work with big names like Food & Wine or Bon Appétit.
Conclusion: Mastering Pizza Photography
Mastering pizza photography is about combining technical skills with creativity. You’ve learned how to frame cheese pulls and enhance shadows with editing tools. Now, it’s time to practice and make every slice tell a story.
Recap of Techniques Learned
Using natural light on overcast days gives soft textures. Softboxes mimic the golden-hour glow. Styling toppings to guide the viewer’s eye adds interest.
Adobe Lightroom helps refine contrast and color grading. You can aim for vibrant or moody tones. Each pizza style, from bubbly Neapolitan to crispy Detroit, needs its own lighting and editing.
Encouragement to Experiment and Create
Don’t be afraid to try new things. Use sepia tones for a nostalgic look or cool blues for a modern feel. Shoot in low light to explore dramatic shadows or highlight dough textures with side shots.
Share your process online and follow food photography trends. Revisit classic techniques like rule-of-thirds framing. Every shoot helps you grow, whether it’s adjusting a softbox or styling a rustic board.
Remember, the best pizza photography comes from curiosity and practice. Capture imperfections, test new angles, and let your style shine.